PrestaShop setup guide
With DokimiAI, you just install the module and turn on try-on per product. No coding required. It takes about 5 minutes.
- 1
Download the module (ZIP)
Download the DokimiAI module ZIP file from the "Download" section on the PrestaShop page.
- 2
Upload it in the Back Office
In your PrestaShop Back Office, go to Modules → Module Manager, click "Upload a module", then select the ZIP you downloaded. PrestaShop installs and enables it automatically.
- 3
Set your API key and Verify
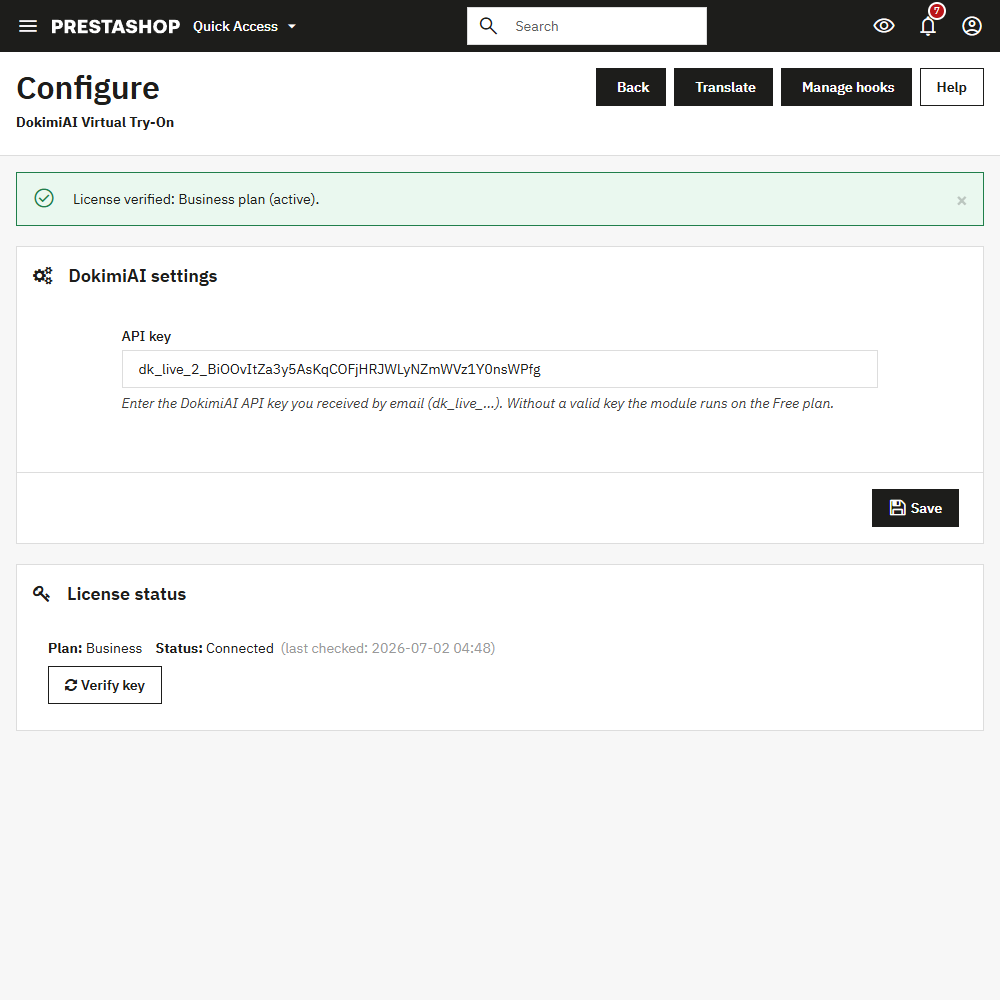
Open the module's Configure screen, enter the API key you received by email (starts with dk_live_), and Save. Then click "Verify" to confirm your plan. Without a valid key the module runs on the Free plan.
- 4
Turn on try-on per product
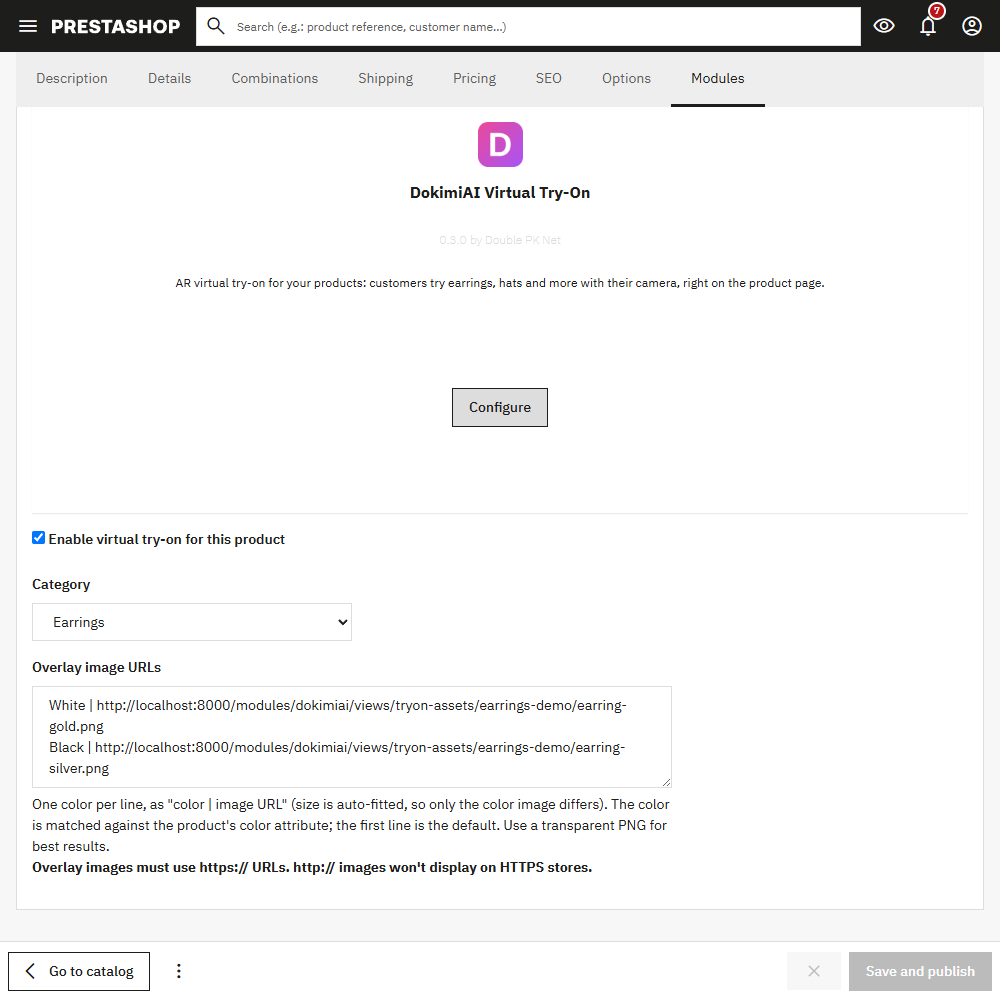
Edit the product you want, open the "Modules" tab, and enable "virtual try-on". Colors and sizes are read from the product's combinations. In the overlay field, add one line per color as "Color name | https://image-url" (the first line is the default). Note: overlay images must use https:// — http:// images won't display on HTTPS stores. To keep the try-on to scale, fill in "Product height" — the real height of the item in millimetres, decimals allowed (12.5) — and, when your sizes differ, the per-size millimetres listed just below it.
- 5
Done: customers can try on from the product page
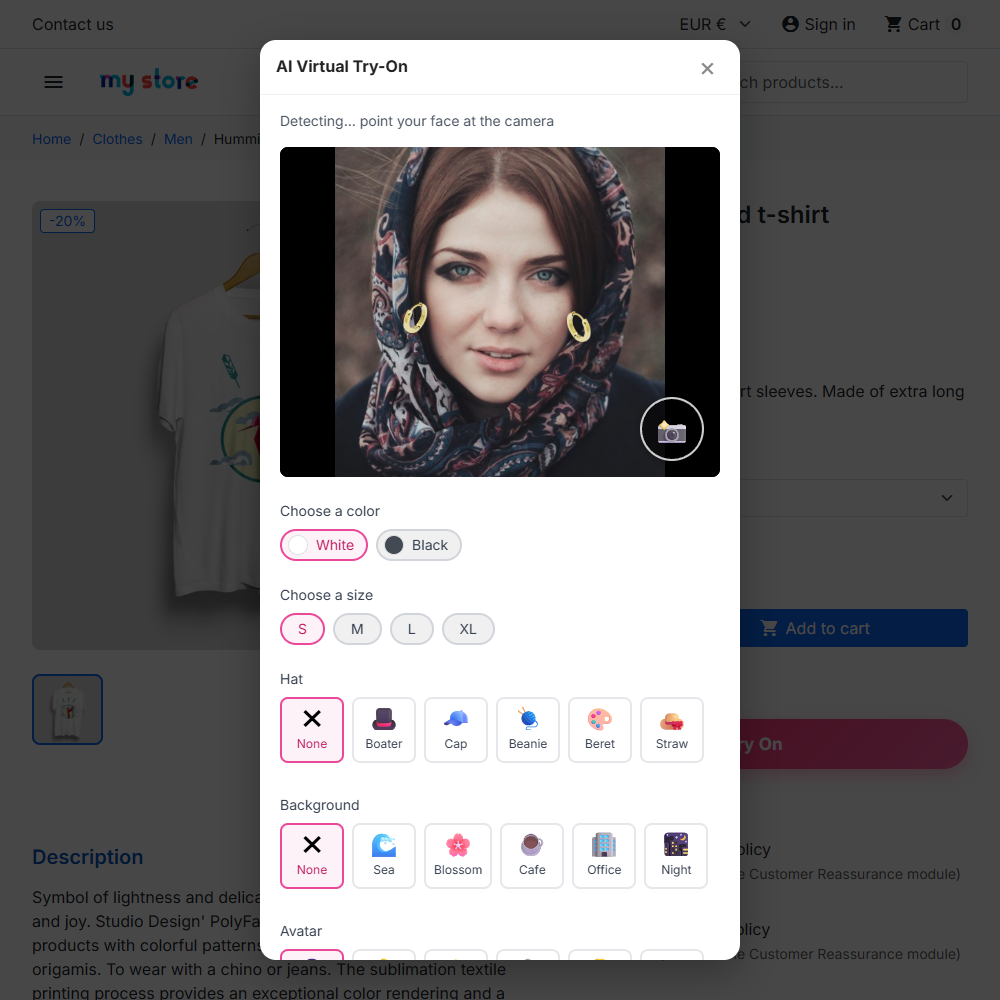
A "Try On" button appears on the product page, and customers can try on right there.
- 6
Shared to social — free promotion
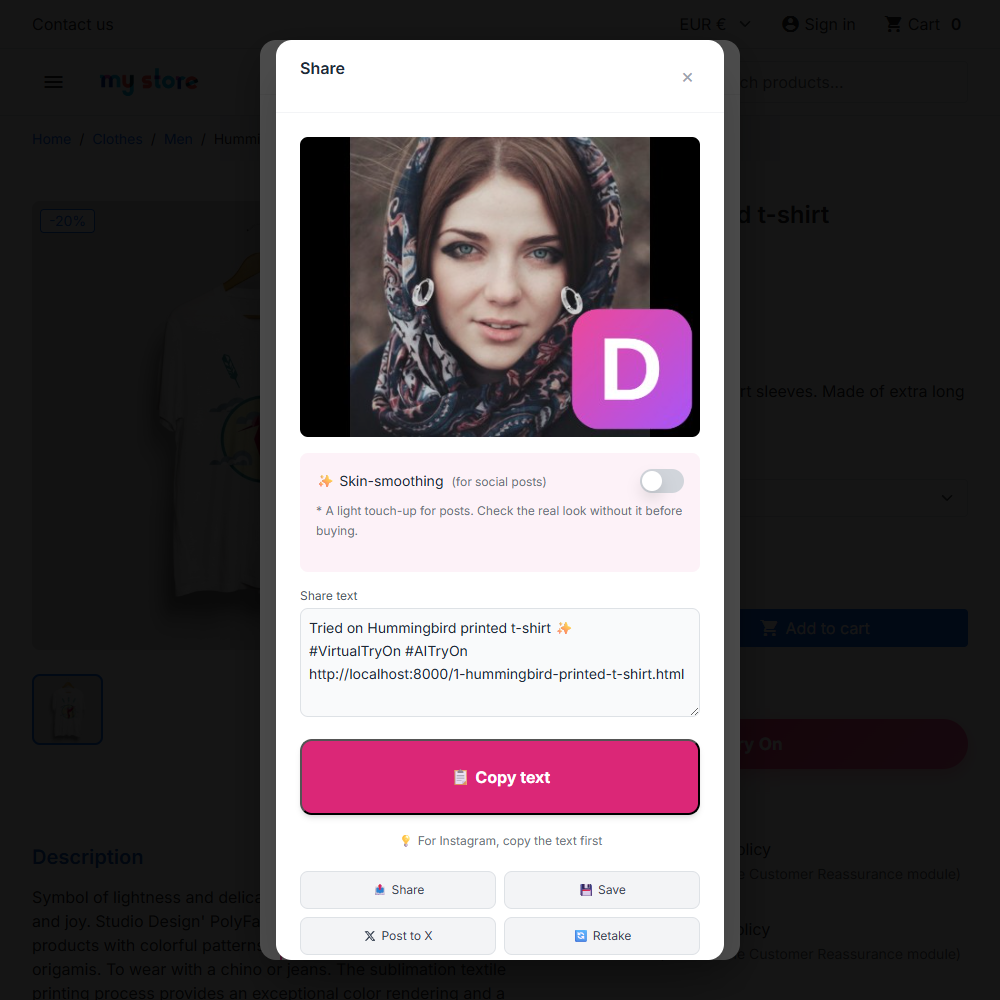
One tap to share the try-on. Each post carries Powered by DokimiAI, bringing you new customers.
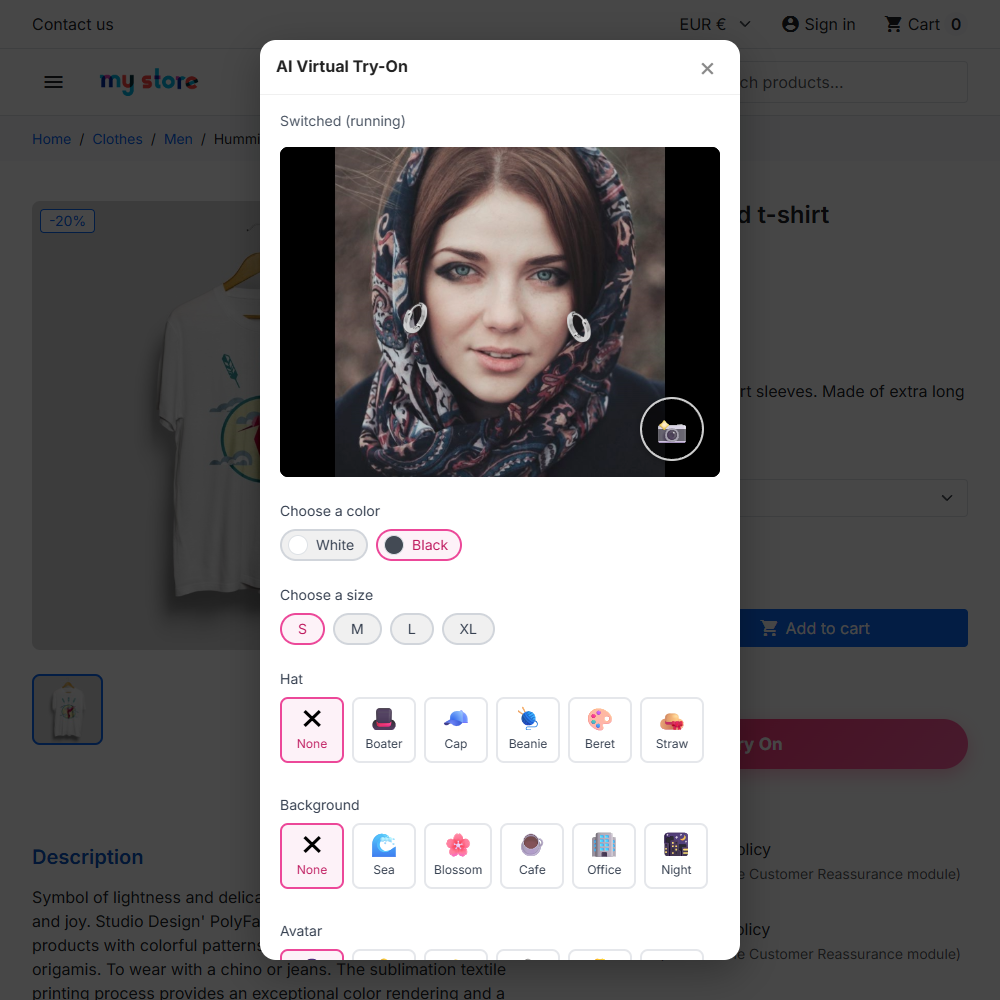
Customers switch colors live, on the product page
Colors come straight from your product combinations, so shoppers can flip between them while the try-on is running—no reload.
Free vs Business at a glance
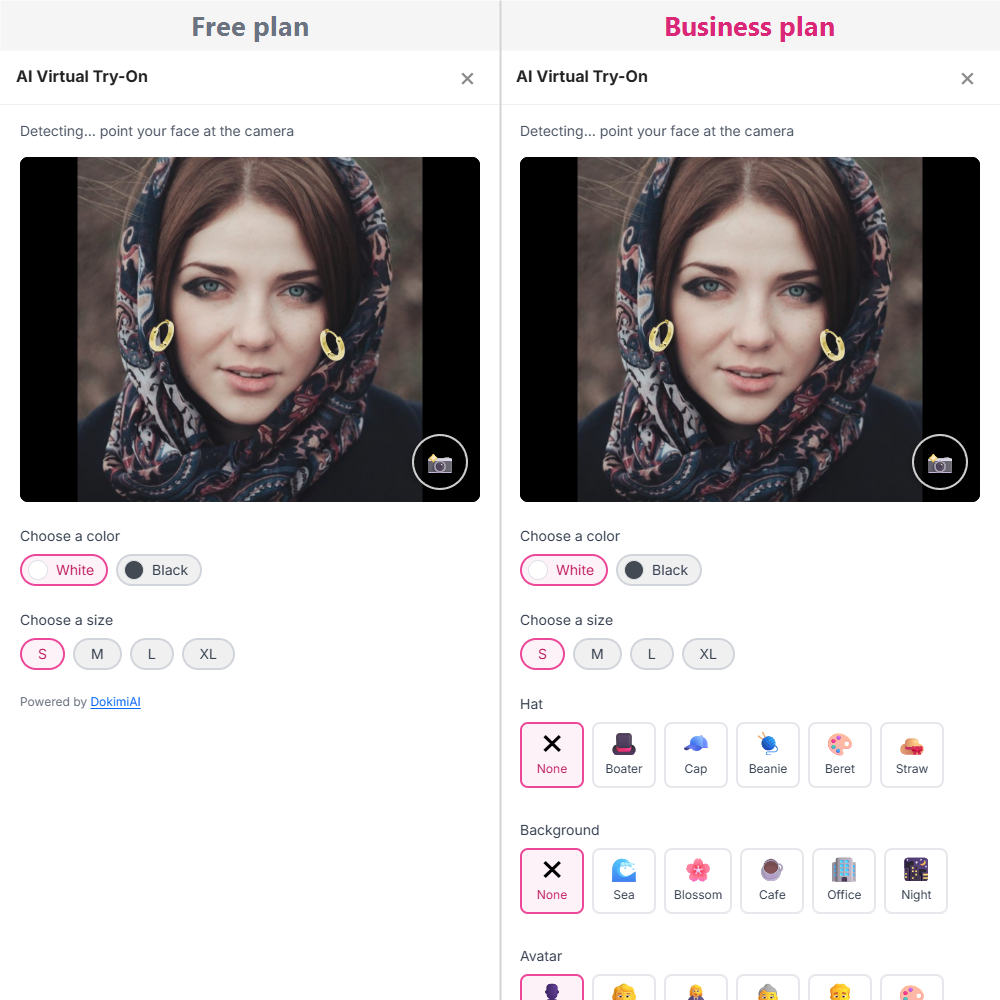
Free covers earring try-on, color/size and sharing (with a "Powered by DokimiAI" credit). Paid plans add hats, background replacement, model avatars and let you hide the credit.
Ready to go? You can try it for free first.
Download the module