Setup guide
This page covers the WooCommerce plugin edition. You just install the plugin and turn on try-on per product. No coding required. It takes about 5 minutes.
Not on WooCommerce? See how to add try-on by pasting one snippet.
- 1
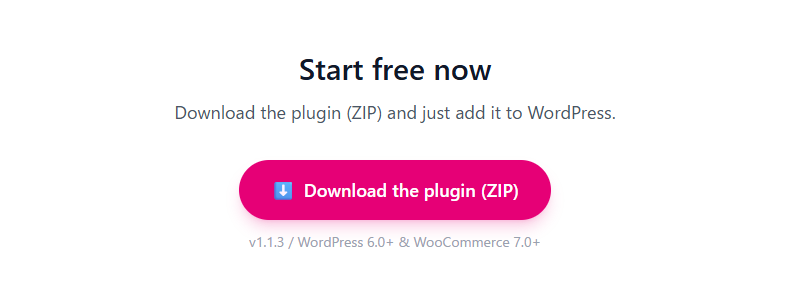
Download the plugin (ZIP)
Download the DokimiAI plugin ZIP file from the "Download" section on the homepage.
- 2
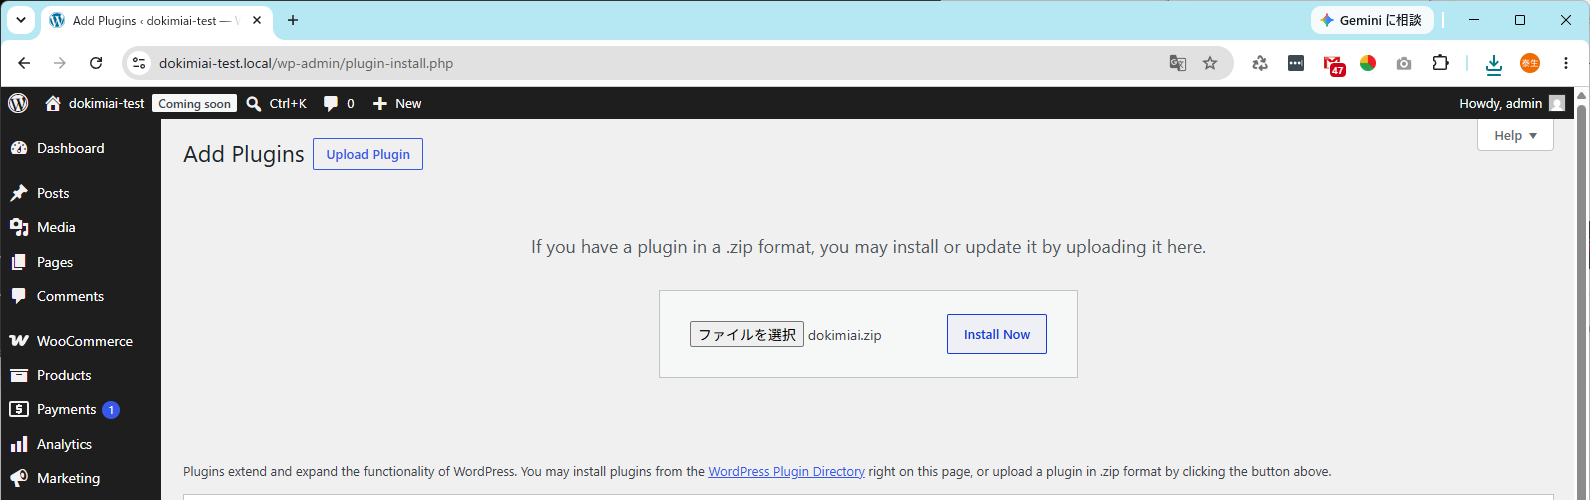
Upload it in the WordPress dashboard
In the dashboard, open "Plugins" → "Add New" → "Upload Plugin", then select and upload the ZIP you downloaded.
- 3
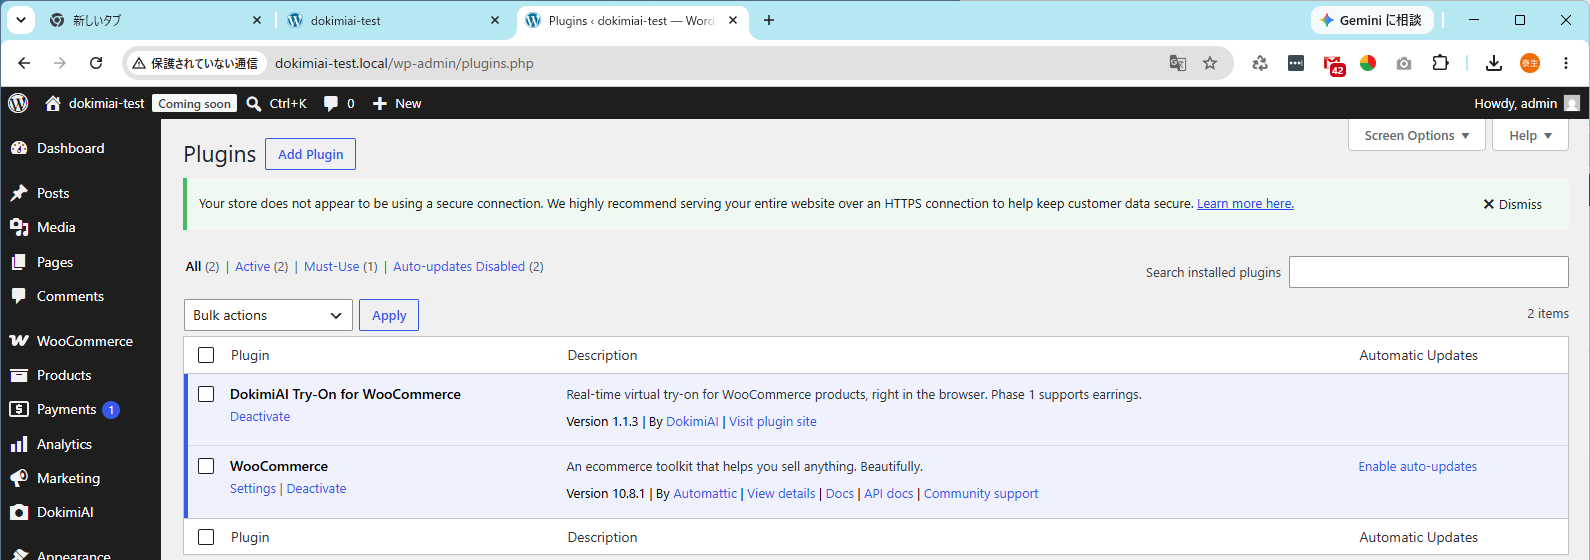
Activate the plugin
After the upload completes, click "Activate Plugin".
- 4
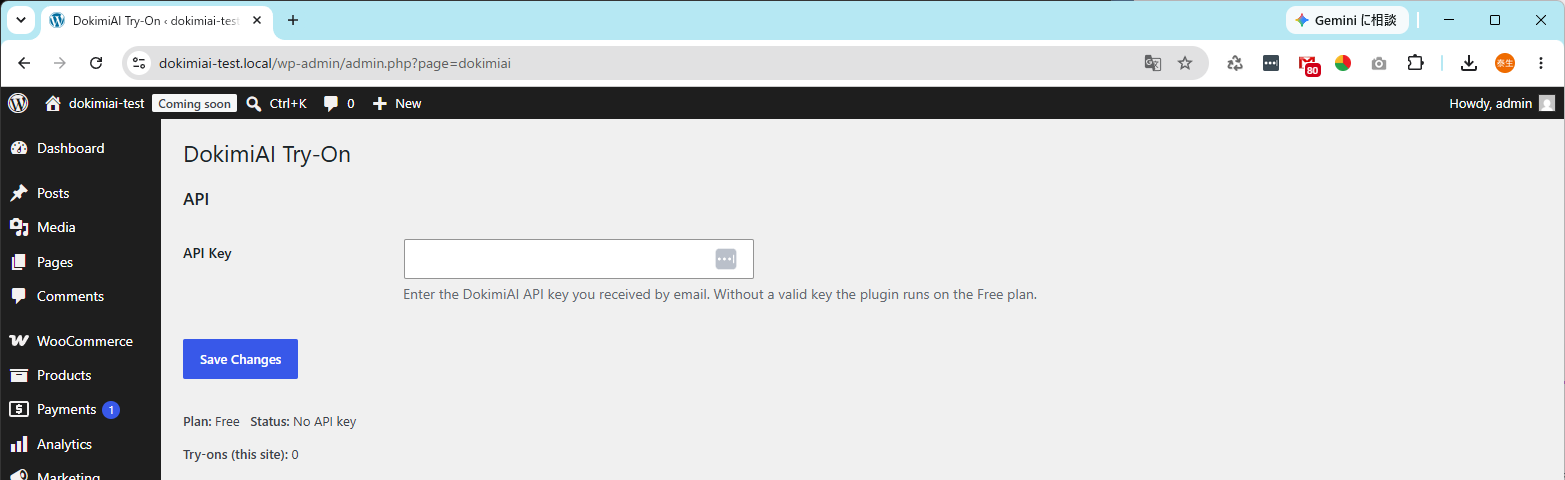
Set your API key
Open "DokimiAI Settings" added to the dashboard, enter the API key you were issued, and save. This authenticates your plan.
- 5
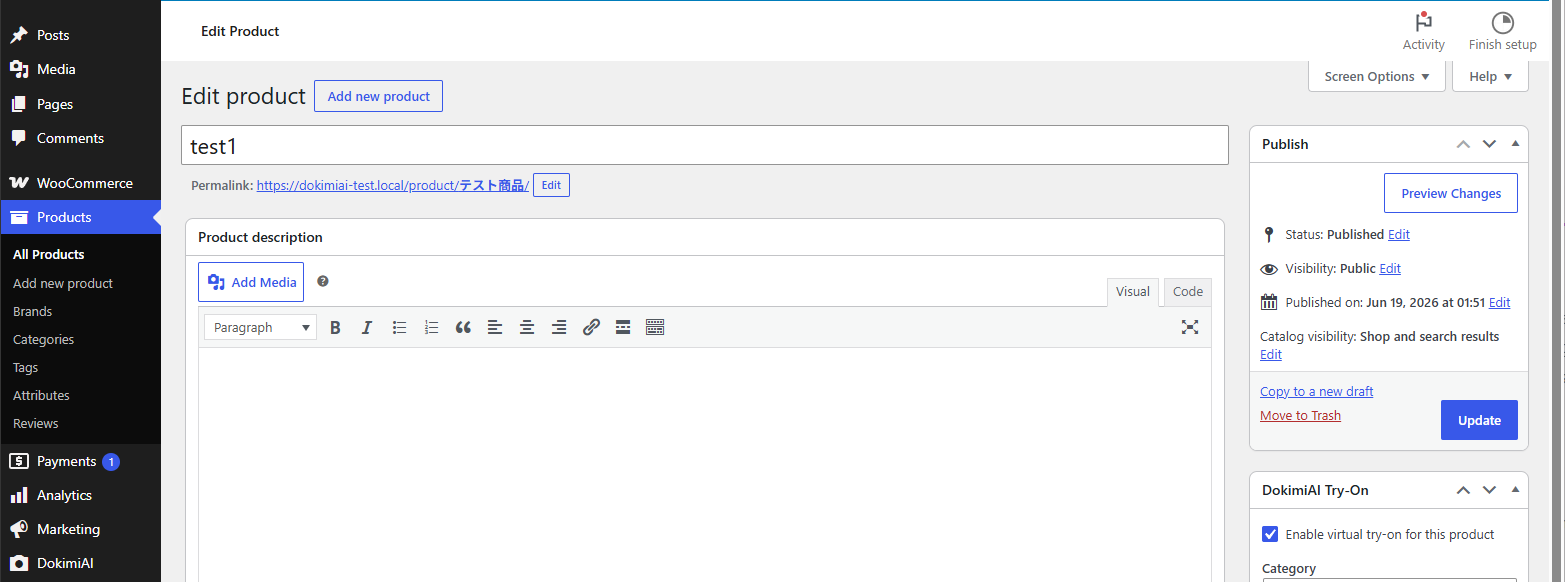
Turn on try-on per product
On the edit screen of the product you want, check "Enable try-on" and update. Colors and sizes are imported automatically from the product info. Note: Use https:// for overlay image URLs (http:// won't display).
- 6
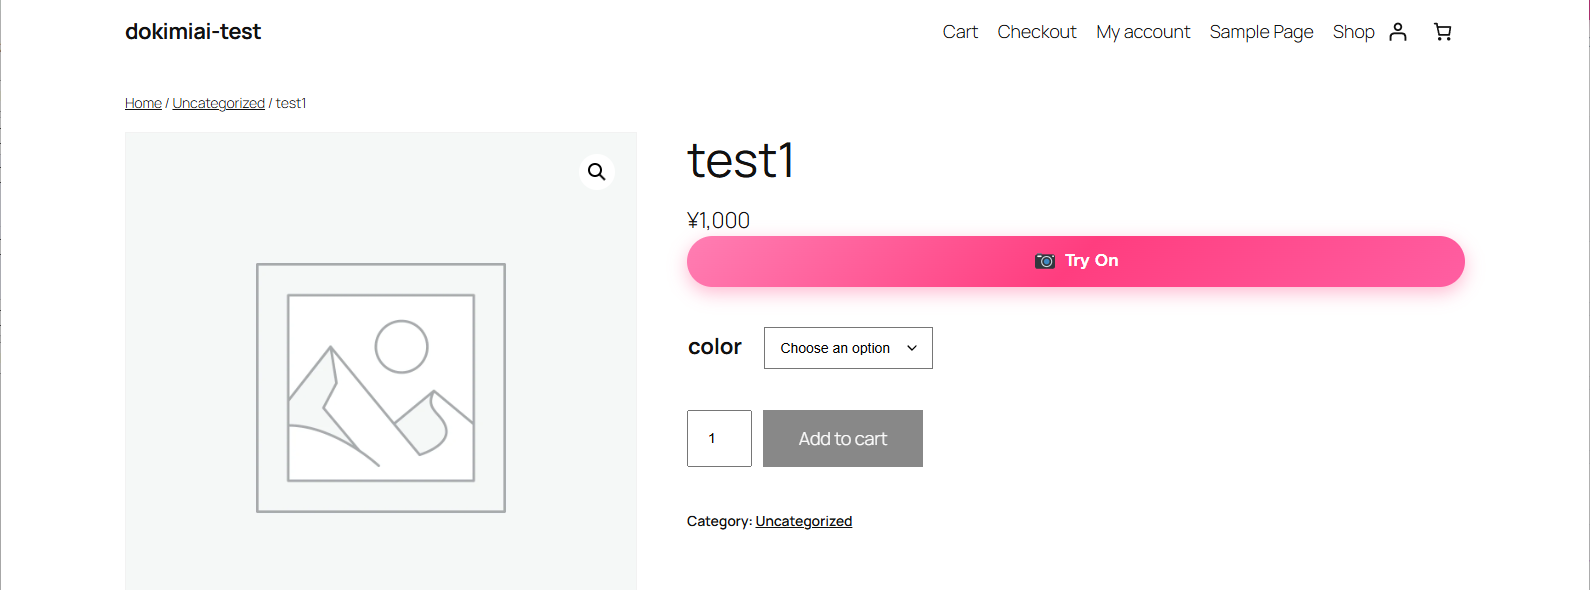
Done: customers can try on from the product page
A "Try On" button appears on the product page, and customers can try on right there.
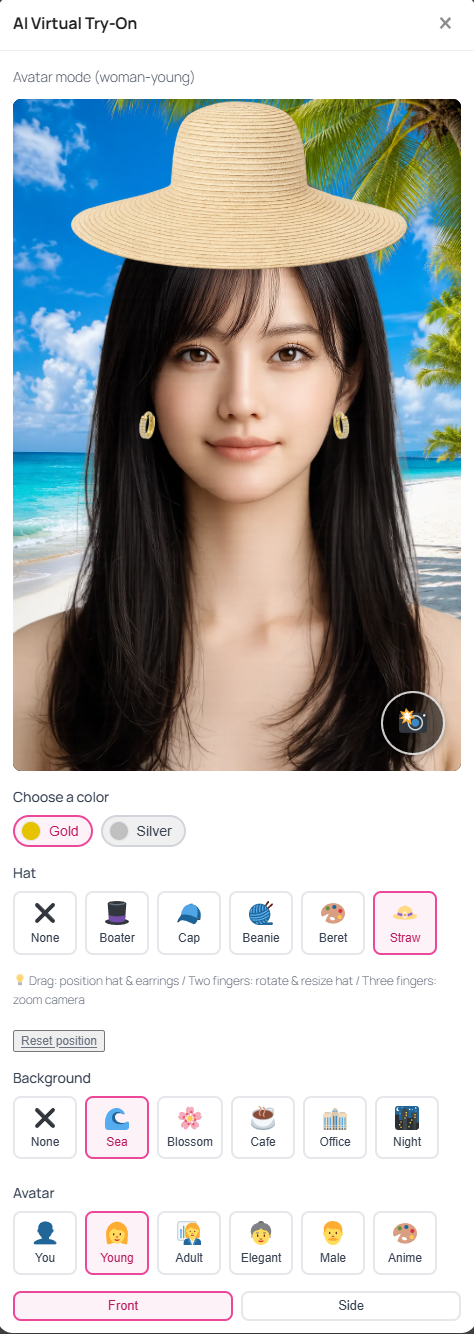
Here's what a try-on looks like
- 7
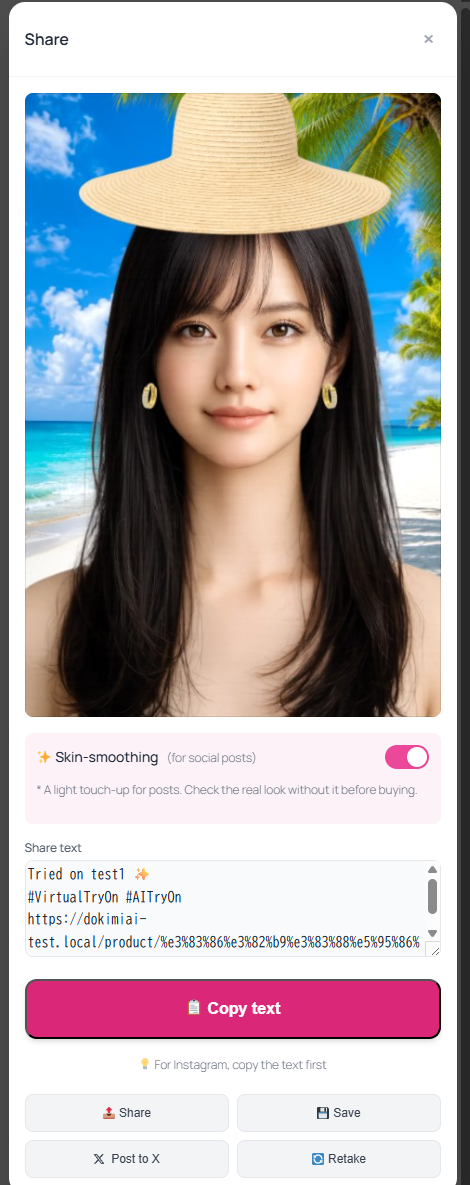
Shared to social — free promotion
One tap to share the try-on. Each post carries Powered by DokimiAI, bringing you new customers.
If you are not on WooCommerce
Even on platforms with no plugin, you can add try-on by pasting a snippet into the product page. No plugin installation is required.
- 1. Sign up free — just your email address. No password needed.
- 2. Register your product — add the SKU, colors and sizes, plus the URL of the transparent PNG, in the console.
- 3. Paste the code — copy the snippet issued for each product into your product page HTML.
Try-on only runs on the domain you registered (one domain per subscription; www and non-www count as the same site).
Ready to go? You can try it for free first.
Download the plugin