Setup guide
This page covers the WooCommerce plugin edition. You just install the plugin and turn on try-on per product. No coding required. It takes about 5 minutes.
Not on WooCommerce? See how to add try-on by pasting one snippet.
- 1
Install the plugin
In your WordPress dashboard go to "Plugins" → "Add New", search for "DokimiAI", then click "Install Now" and "Activate".
* The plugin for paid plans is installed by uploading its ZIP file.
- 2
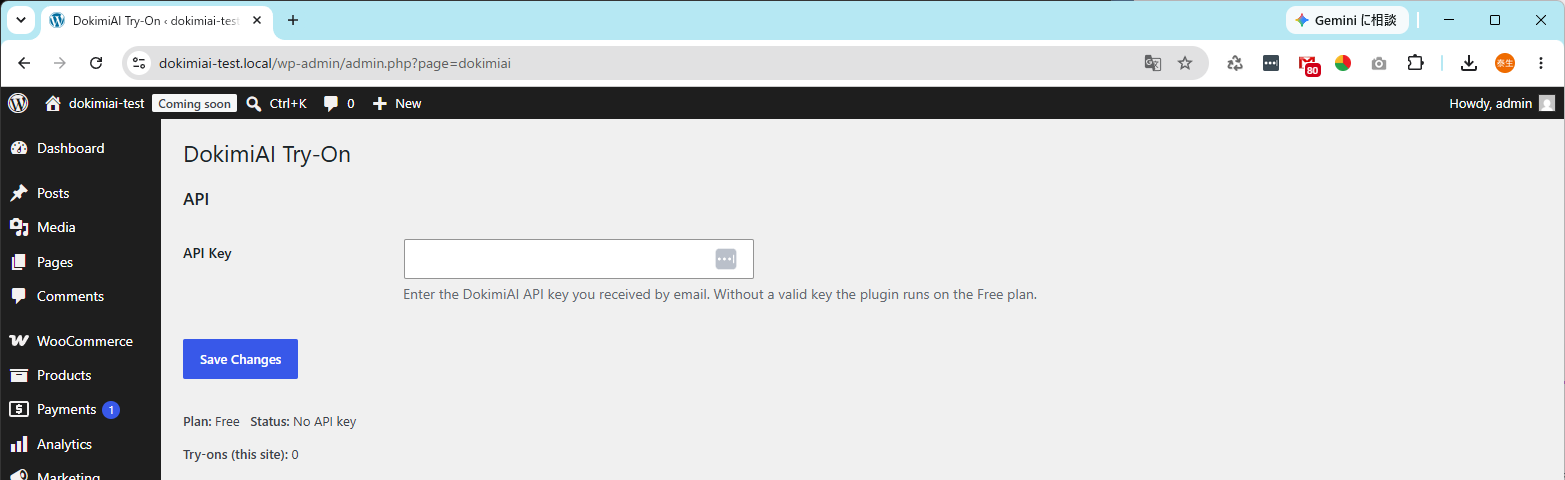
Set your API key
Open "DokimiAI Settings" added to the dashboard, enter the API key you were issued, and save. This authenticates your plan.
- 3
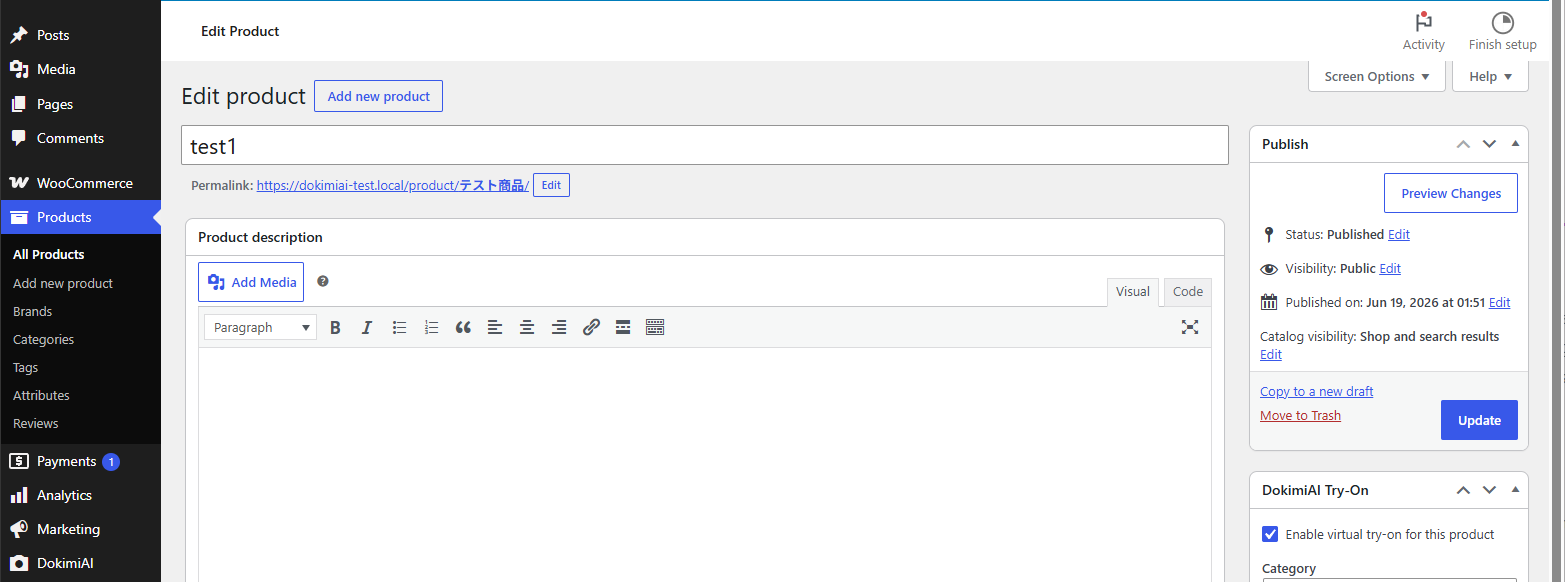
Turn on try-on per product
On the edit screen of the product you want, check "Enable try-on" and update. Colors and sizes are imported automatically from the product info. Note: Use https:// for overlay image URLs (http:// won't display).
- 4
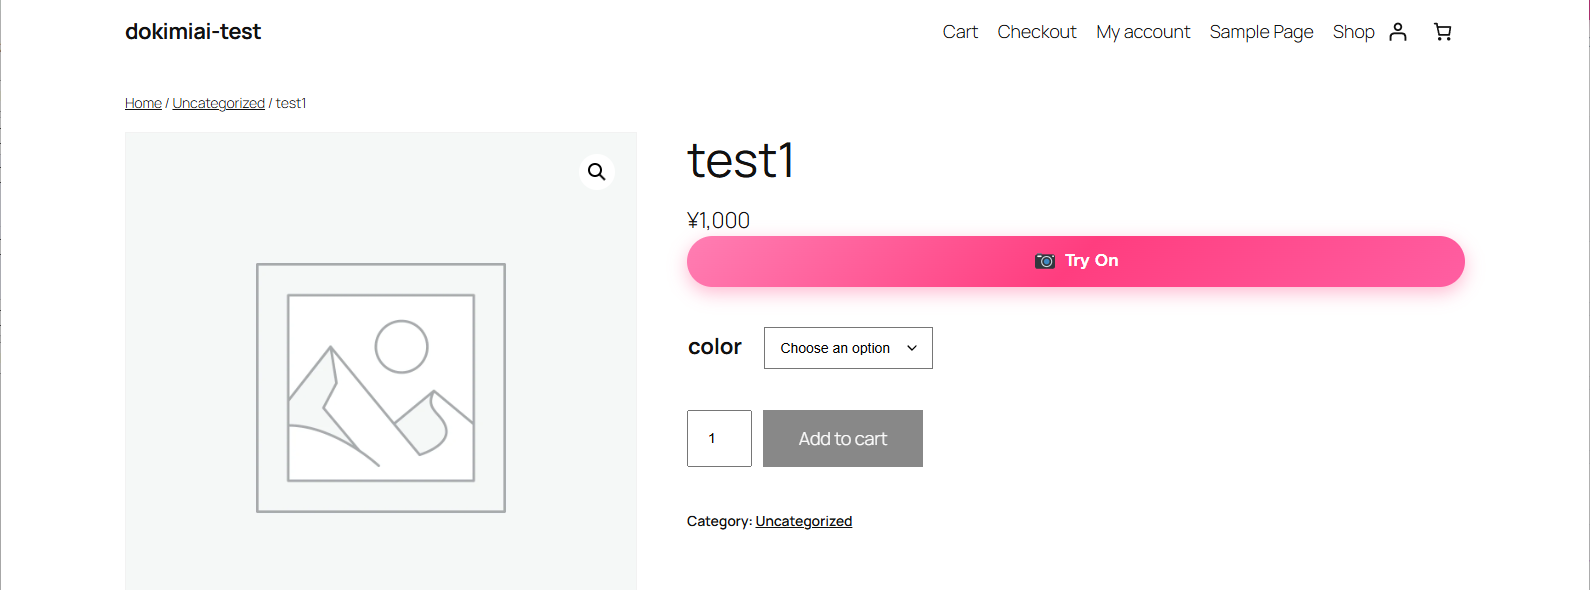
Done: customers can try on from the product page
A "Try On" button appears on the product page, and customers can try on right there.
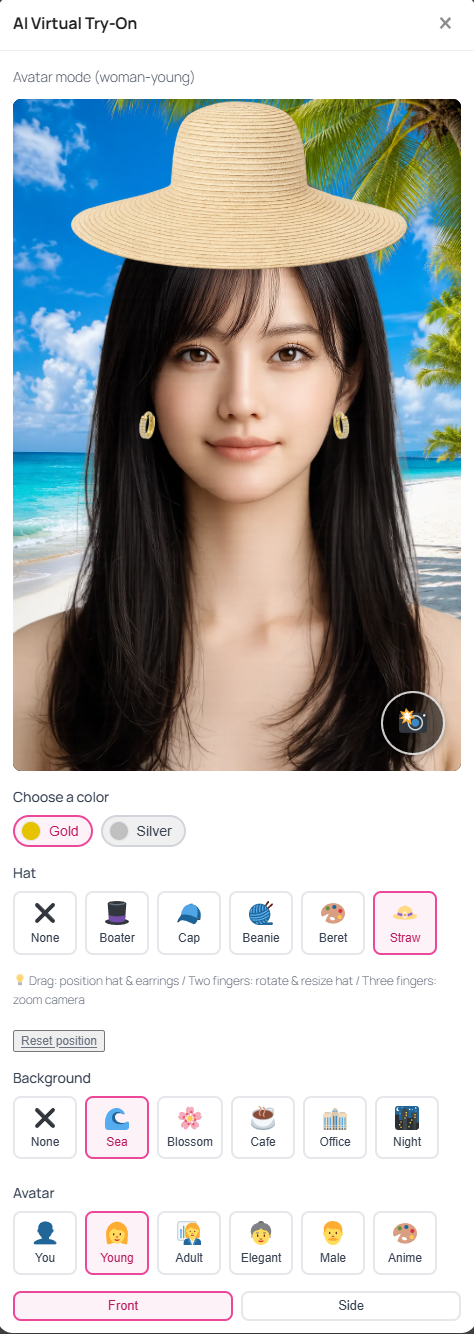
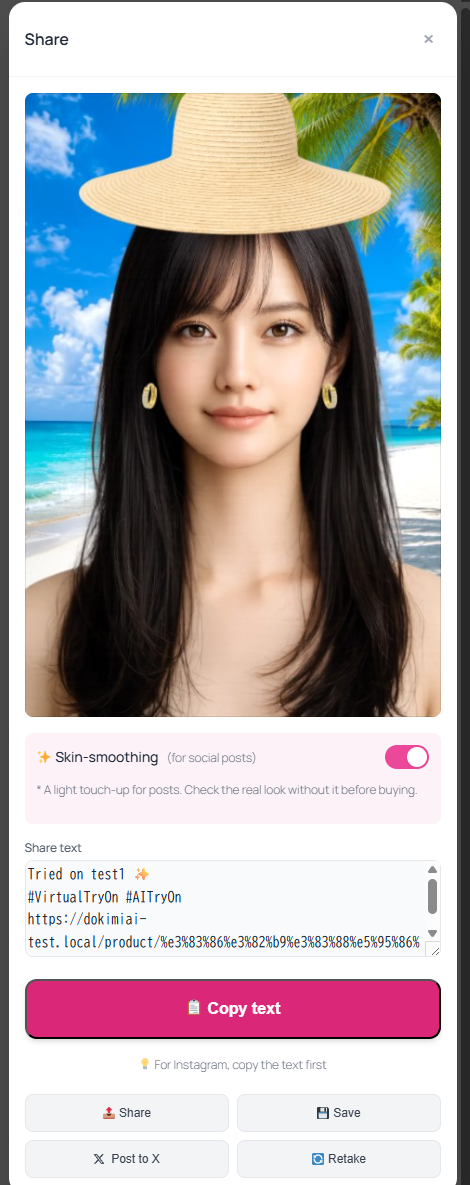
Here's what a try-on looks like
- 5
Shared to social — free promotion
One tap to share the try-on. Each post carries Powered by DokimiAI, bringing you new customers.
Where to put the Try-On button
Try-on gets used at the moment a shopper is undecided. Where you put the button changes how often that happens, so use these three rules of thumb.
- • Put it right beside the size and color pickers — wherever the buying controls are is where try-on gets used.
- • Keep it visible on a phone without scrolling — just below the product image and price. Shoppers should find it without moving a finger.
- • Avoid the bottom of the description — few shoppers read that far. Never place it after the point of purchase.
Placement by platform
- WooCommerce (plugin edition)
- Nothing to do: the button appears just above the add-to-cart form (the variation pickers), on
woocommerce_single_product_summaryat priority 25. To move it,remove_actionthat hook in your theme'sfunctions.phpandadd_actionit again at a different priority. - PrestaShop (module edition)
- Also automatic: it renders inside the buy form, right after the add-to-cart button, via the
displayProductAdditionalInfohook. To move it, transplant the module to another hook under Design → Positions, or call the hook from the spot you want in your theme'sproduct.tpl. - Custom build (paste-the-code)
- Nothing is injected for you. The button renders exactly where you put
<button data-dokimiai-sku="...">, so paste it straight after the size and color selects, next to the cart button. The<script src=".../widget.js">tag can go anywhere (just before</body>is fine).
* With the pasted snippet, the button has to be in the HTML by the time the page finishes loading. Buttons injected later by JavaScript are not wired up.
If you are not on WooCommerce
Even on platforms with no plugin, you can add try-on by pasting a snippet into the product page. No plugin installation is required.
- 1. Sign up free — just your email address. No password needed.
- 2. Register your product — add the SKU, colors and sizes, plus the URL of the transparent PNG, in the console.
- 3. Paste the code — copy the snippet issued for each product into your product page HTML.
Try-on only runs on the domain you registered (one domain per subscription; www and non-www count as the same site).
Ready to go? You can try it for free first.
The free edition can be installed from the official WordPress.org plugin directory.
Download the plugin for paid plans (ZIP)