Setting Up Try-On Products in Shopify (Try-On Images & Per-Size Dimensions)
With the app installed and the App Block placed, what remains is per-product registration. This article covers the Try-On Images screen in detail. Installation and block placement are in the setup guide.
The Try-On Images screen
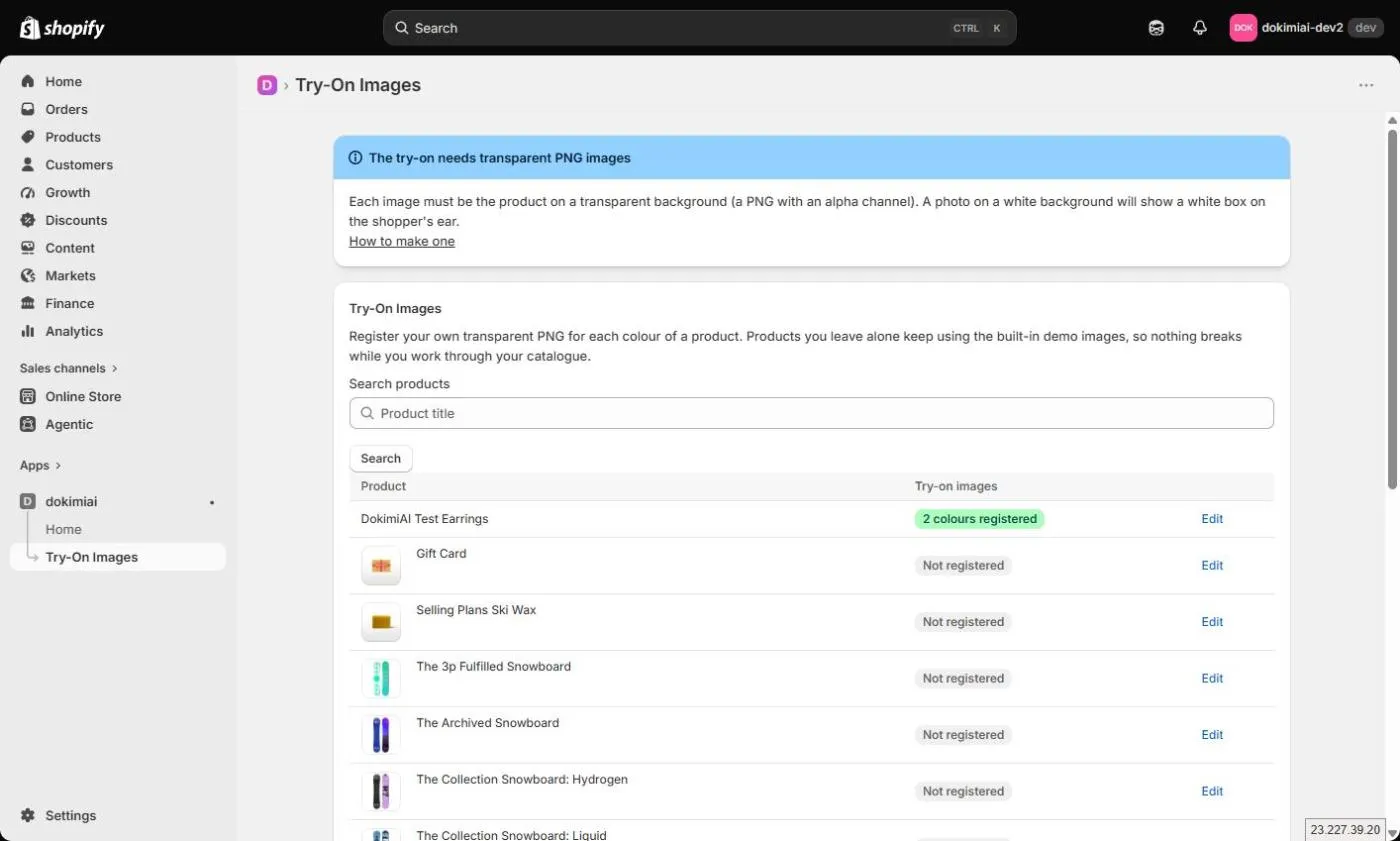
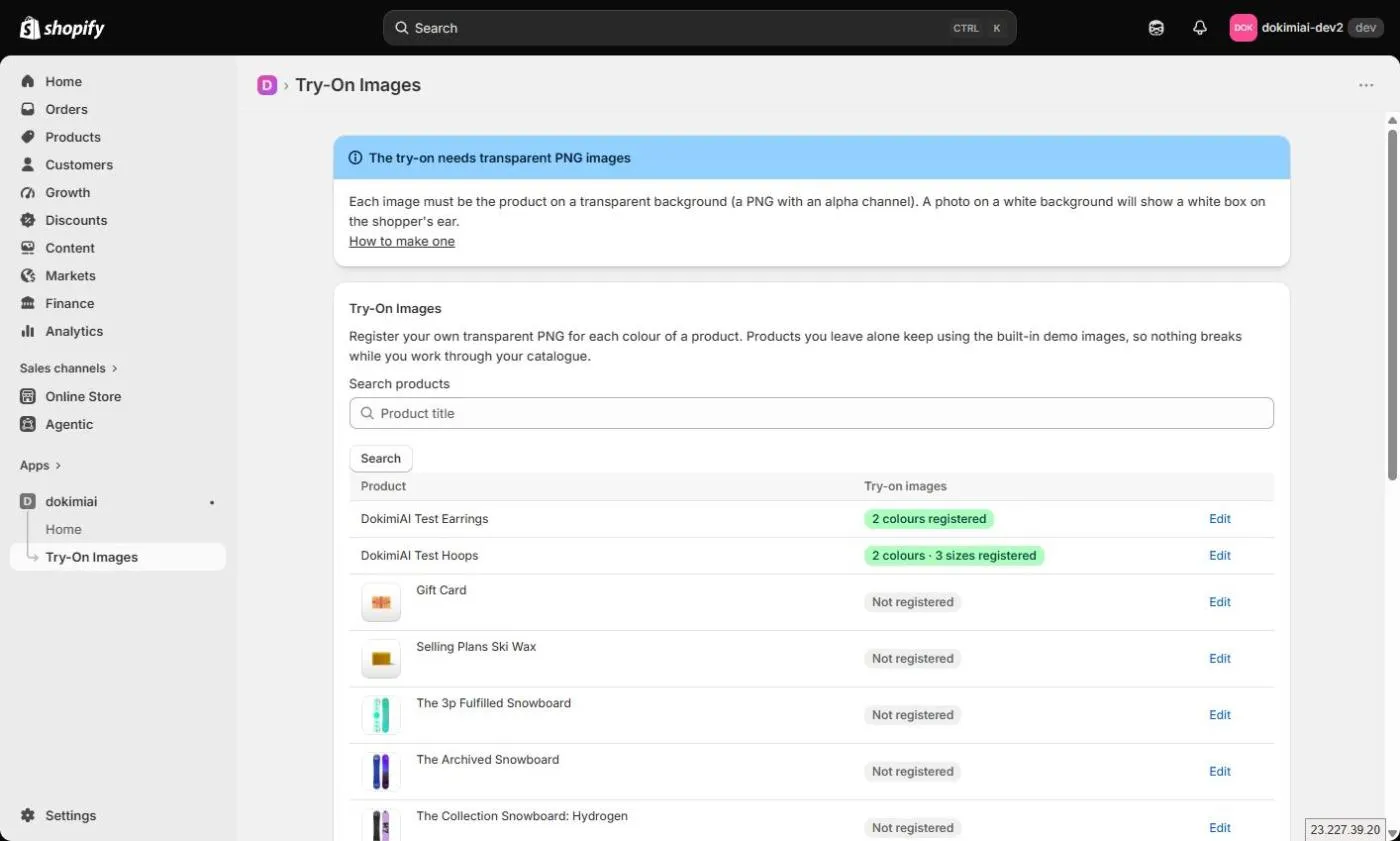
Open the app and go to Try-On Images. You’ll see your product list, each with a status badge (“2 colors · 3 sizes registered”), so progress is visible at a glance.
Pick a product to open its form. Three things to fill in:
| Field | What it is |
|---|---|
| Color + image URL | A color name and the URL of that color’s transparent PNG, one row per color |
| Product height (mm) | Real-world size. Blank = 21 mm default |
| Per-size heights | Appears only when the product has two or more size variants |
Data is stored in the product’s metafields. It survives theme changes but is removed if you uninstall the app, so reinstalling means re-registering.
Color names must match option values exactly
Shopify products define variants through options (e.g. Color) and option values (Gold, Silver …). The color row name must match the Color option value exactly.
| Option value | Color row name | Result |
|---|---|---|
| Gold | Gold | ✓ |
| Gold | gold | ✗ case-sensitive |
| Yellow Gold | Gold | ✗ |
| Rose Gold | Rose | ✗ |
Mismatched colors just don’t render — no error. Copy the option values from the product’s Variants section before writing color rows.
Products without a color option need a single row.
Host images in Shopify Files
Only https URLs are accepted, but use Shopify Admin → Content → Files as the host.
Try-on draws the image onto a browser canvas, which requires the image server to send a CORS header allowing cross-site reads. Shopify Files does. Images on your own website or external storage may open fine in a tab yet fail inside try-on.
The form shows a yellow warning for non-Shopify hosts. If you see it, move the file to Files.
After uploading to Files, use “Copy link” on the image to get its URL.
The image requirements are the same as everywhere else: transparent PNG, tight crop, no visible post on studs. See the PNG guide.
Product height
Enter the product’s height — its vertical extent when worn — in mm.
- Stud: vertical length of the decorative part
- Hoop: inner diameter + wire thickness × 2
- Drop: from where it hangs to the bottom
Blank means 21 mm. Don’t stop after entering the image.
Per-size heights
When a product has a size option with two or more values (8 mm / 10 mm / 12 mm …), a per-size heights section appears automatically. Enter mm per size and the rendered size follows the shopper’s selection.
- Blank sizes fall back to the product height above
- Size is independent of color, so no color × size combinations
- Products with a single size don’t show this section
This is the feature that matters most for hoop diameter choice, so always fill it in for hoops with size variants.
Checking after saving
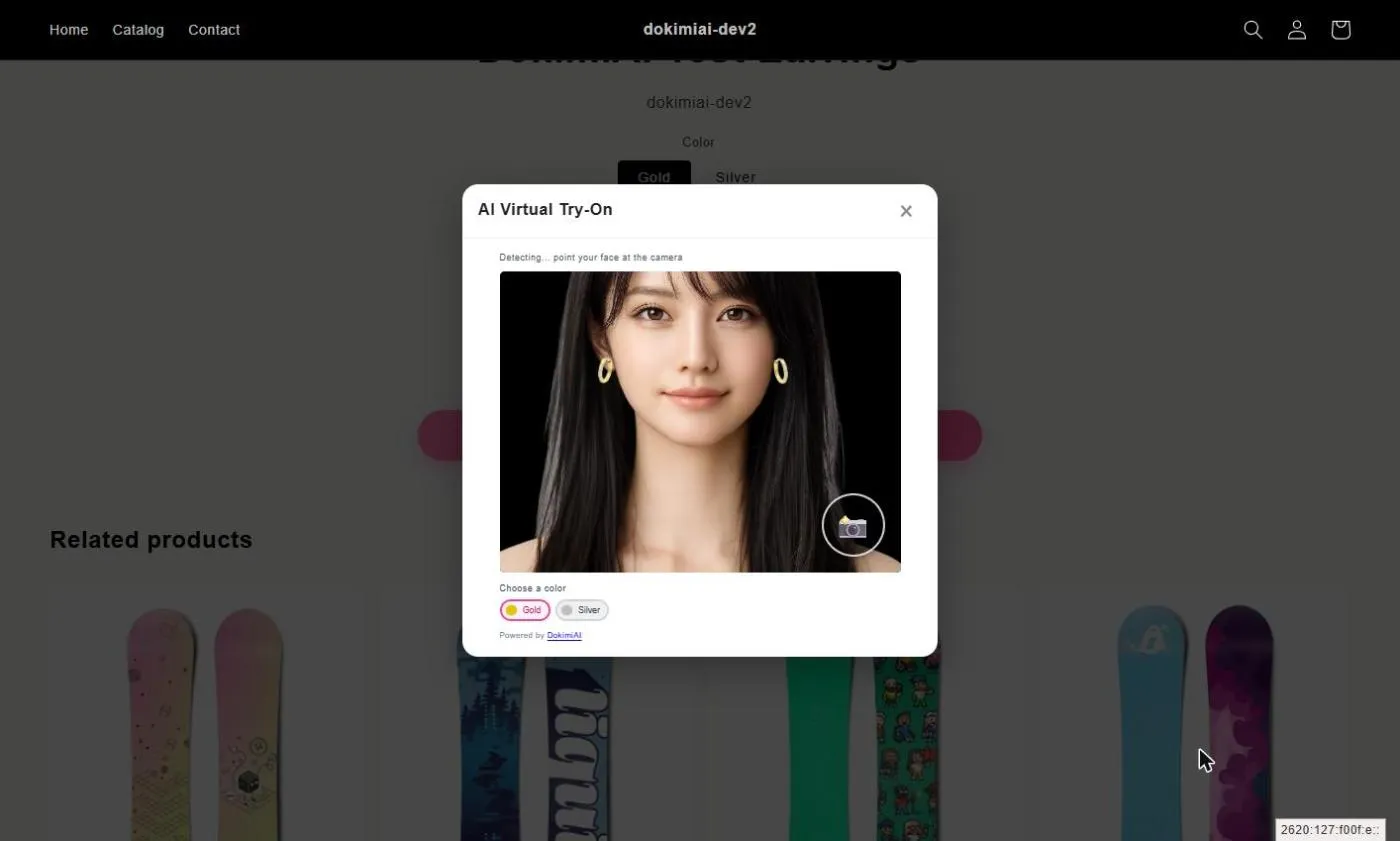
Open the product page on your phone and tap the button.
- Nothing renders → color-name spelling
- White panel → image isn’t transparent
- Huge or tiny → height left at default, or too much image margin
- Size switch does nothing → per-size heights blank
Only registered products show try-on, so you can verify one at a time.
Working through many products
- Make all images first and bulk-upload to Files
- Register products from the list as their images are ready
- Track progress by the badges
- Batch by category so the size calculation stays the same
With image and URL ready, it’s 2–3 minutes per product.
Summary
- Color names match the Color option values exactly (case included)
- Host images in Shopify Files; other hosts trigger a warning
- Always enter product height; don’t leave the 21 mm default
- Size variants use per-size heights; no color combinations needed
- Track by badge, verify each product on a phone
The only Shopify-specific detail is where images live. Everything else is the same per-product image-and-size work as on any platform.