How to Add Virtual Try-On to a Shopify Store (App Install to App Block)
Putting virtual try-on on a Shopify product page comes down to four things:
- Install the app
- Register a try-on image (transparent PNG) and real-world size for each product
- Add the App Block to your product template in the theme editor
- Test it on the storefront
With images ready, the first product takes about 15 minutes. The slow part is preparing the images, which has its own guide: How to Make Transparent PNGs for Virtual Try-On. This article assumes your PNGs are done.
1. Install the app
Add DokimiAI to your store from the Shopify App Store. The only permission it asks for is reading and writing product data. It doesn’t touch customers or orders.
After installing, open DokimiAI from Apps in your admin. You’ll see the app home, where you can pick a plan — but stay on Free for now. Setting up the button and testing it works fully on the free plan.
2. Register try-on images per product
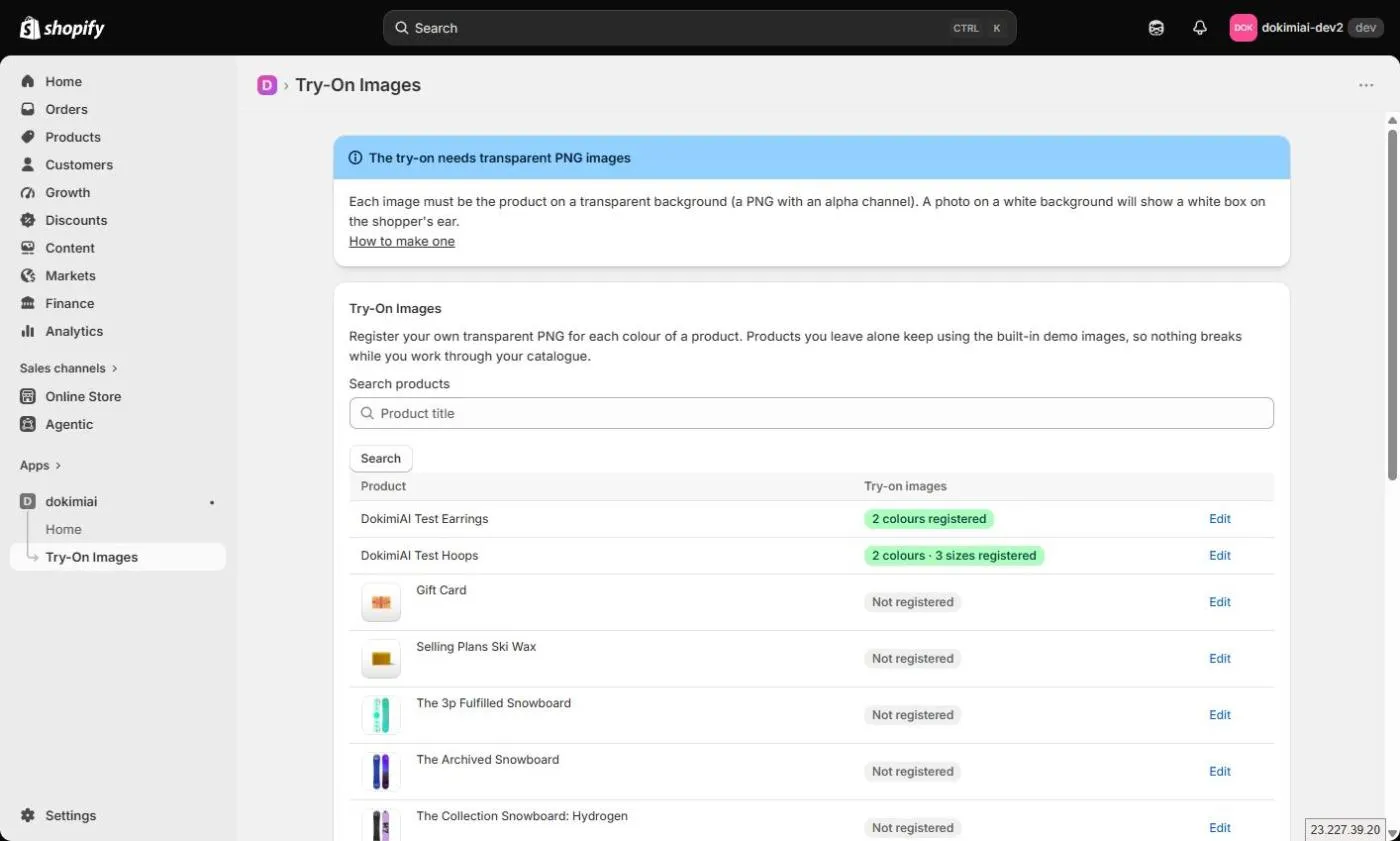
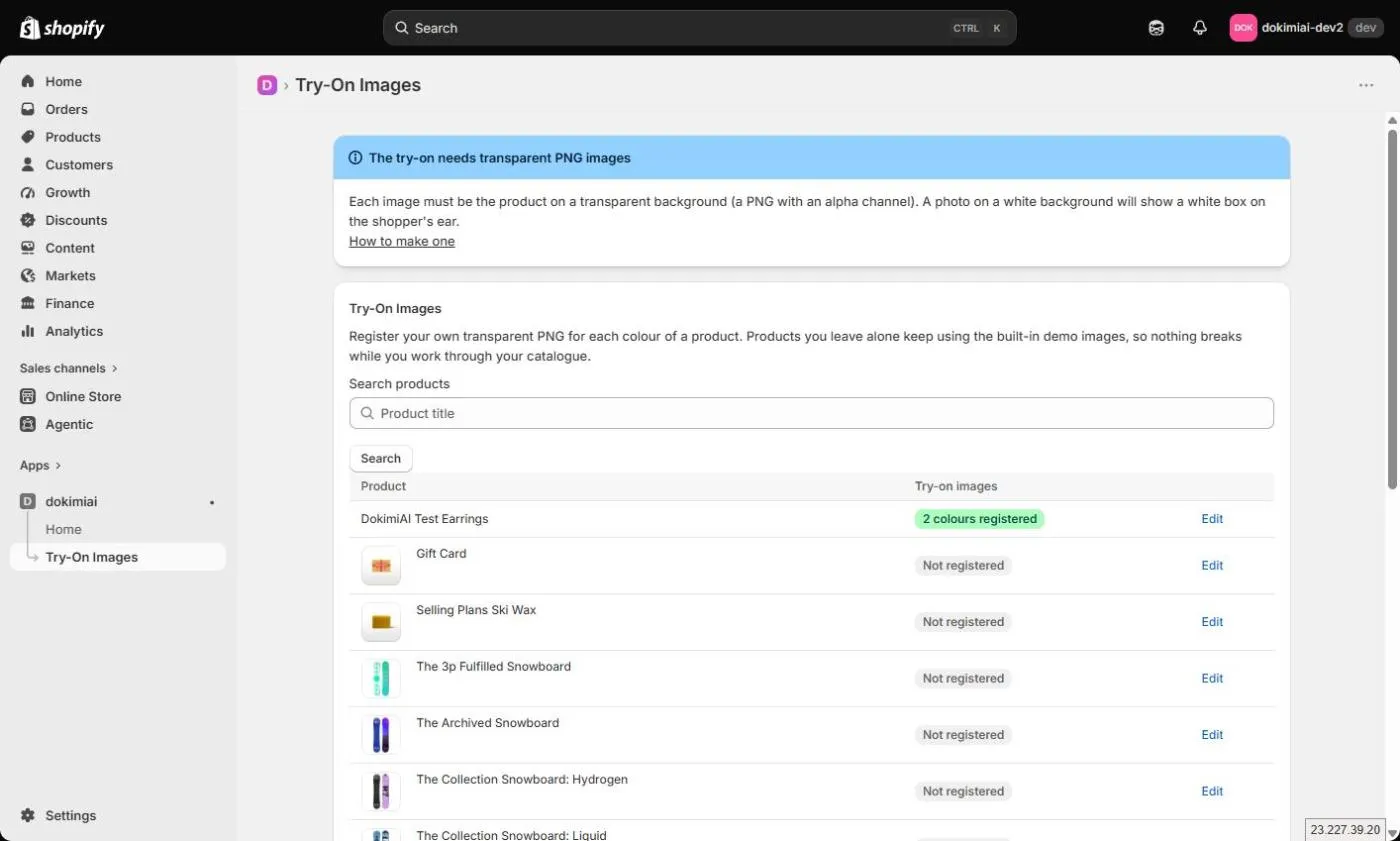
Open Try-On Images inside the app. You’ll see your product list. Pick the product you want to enable and go to its registration form.
You register three things.
An image URL per color
One line per color variant, with the URL of that color’s transparent PNG.
The color name must match the variant option value exactly. If you register “Gold” but the variant option says “Yellow Gold”, they won’t match and that color won’t render. There’s no error message, so check this first and save yourself a headache later.
Only https URLs are accepted.
Where to host the images
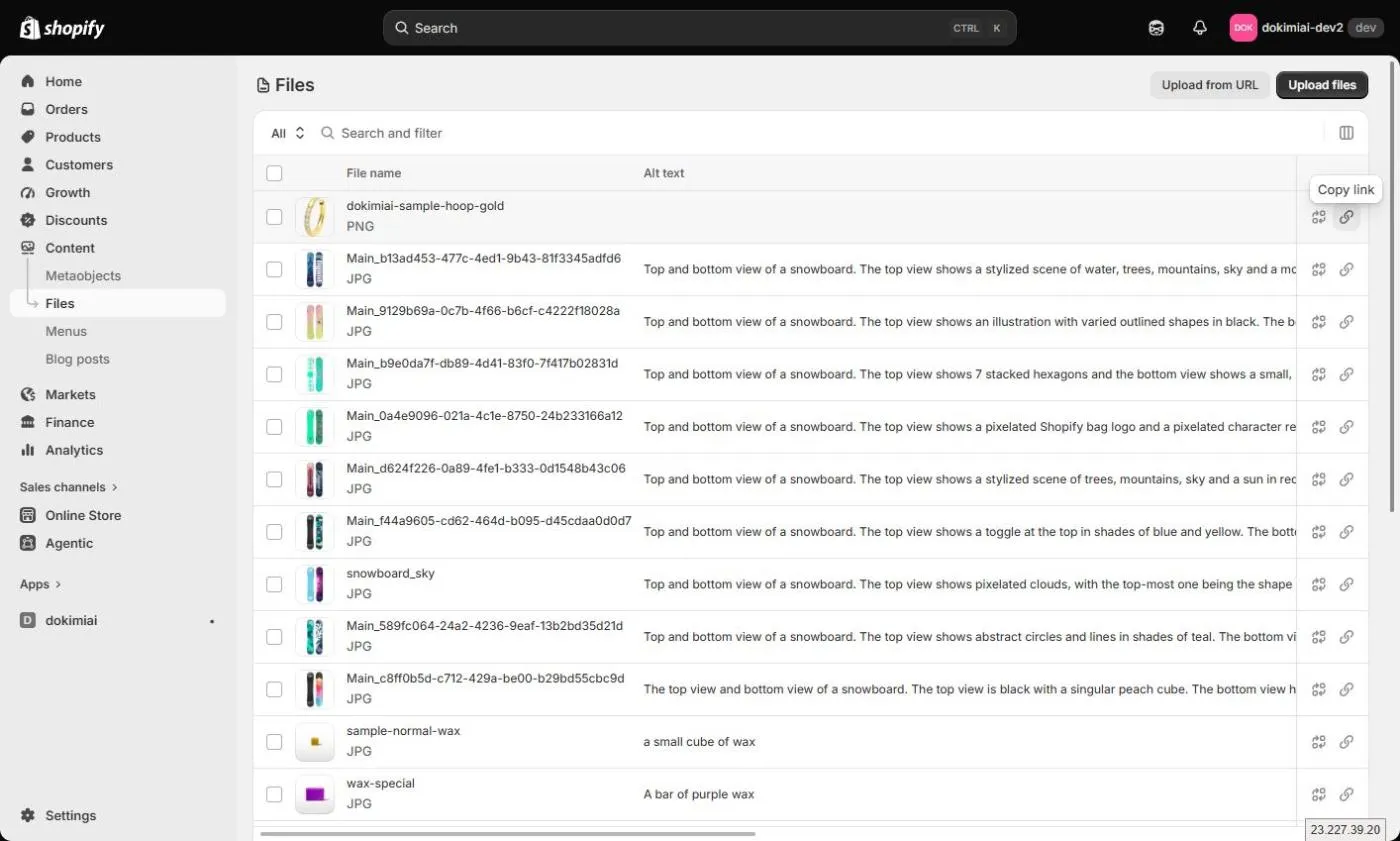
Upload them to Shopify Admin → Content → Files and use those URLs. This is the reliable choice.
The reason is technical: try-on draws the image onto a canvas in the browser, and that requires the image server to send a CORS header allowing other sites to read it. Shopify’s Files do. Images on your own website or on some external storage may open fine in a browser tab yet fail inside try-on. If you register an image from a host without that header, the form shows a yellow warning — move the file to Shopify Files if you see it.
Real-world size (mm)
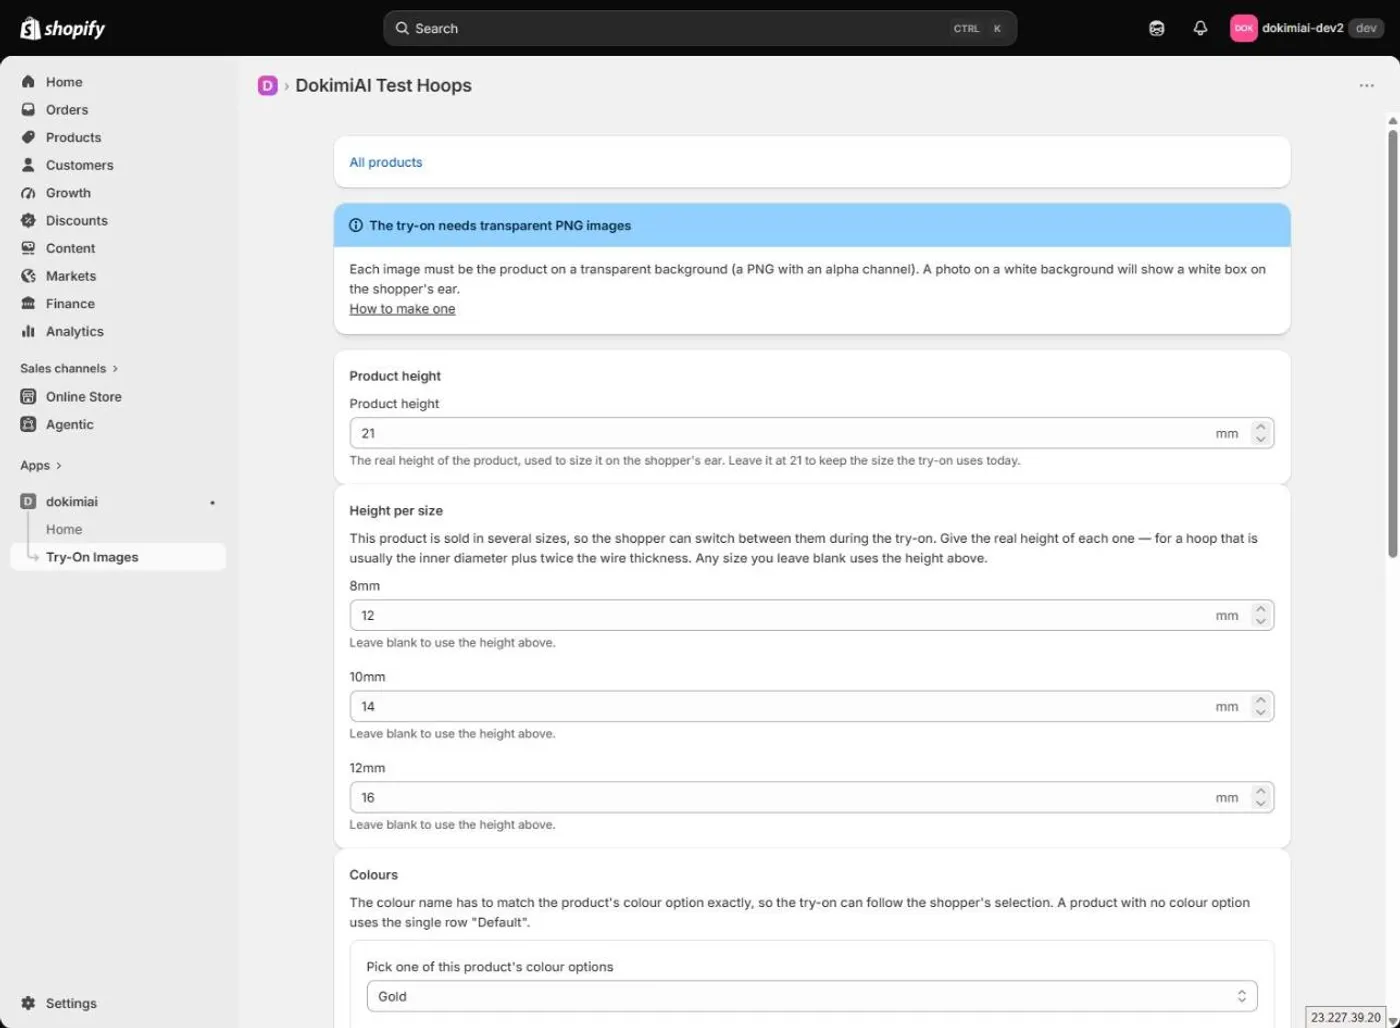
Enter the product’s height in millimeters. Try-on renders the image at real scale against the ear, so if this is off, a tiny stud can show up bigger than the earlobe.
For hoops, a good rule is inner diameter + wire thickness × 2. A 12 mm hoop in 2 mm wire is 16 mm.
If you leave it blank, the default is 21 mm. Registering an image alone doesn’t change how it’s sized, so always enter the real value.
Products with size variants
If a product has two or more size variants (8 mm / 10 mm / 12 mm, for example), a per-size height section appears automatically. Enter a mm value for each size, and the rendered size on the ear follows the shopper’s selection. Sizes left blank fall back to the main value above.
Size doesn’t depend on color, so you don’t enter color × size combinations.
After saving, the product list shows a badge like “2 colors · 3 sizes registered.”
3. Add the App Block in the theme editor
Registration alone shows nothing on the product page. You need to place the block in your theme.
- Go to Online Store → Themes and click Customize on your live theme
- In the template picker at the top, choose Products → Default product
- In the left panel, find the product information section (where the price and cart button live) and click Add block
- Under Apps, pick DokimiAI Try-On
- Drag it into position — directly above or below the add-to-cart button works best
- Save
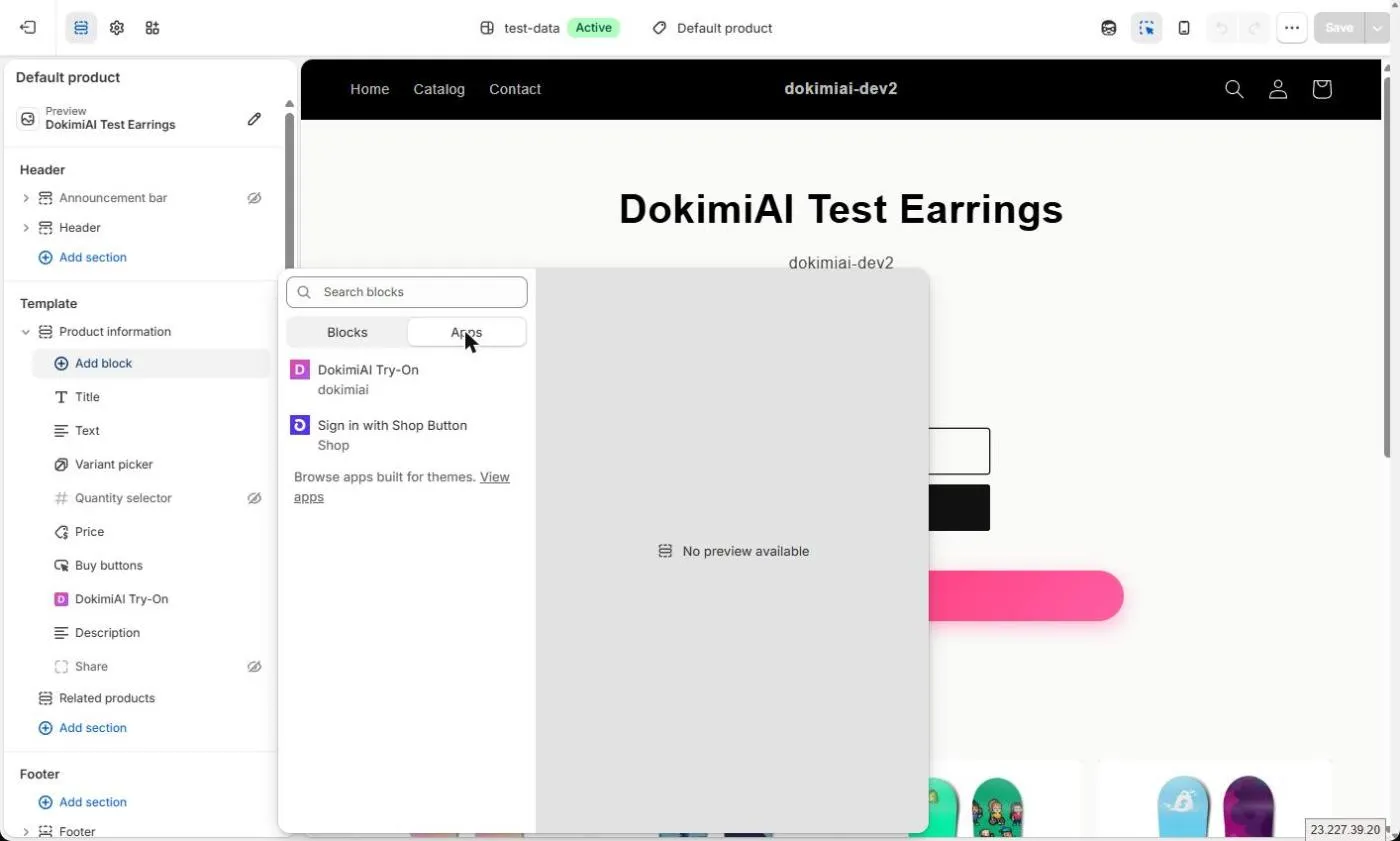
If you use several product templates, add the block to each one where you want try-on. The flip side: try-on only appears on products using a template that has the block, so “only this category” is controlled by which templates you use.
4. Test on the storefront
Open a registered product on your phone and tap the try-on button.
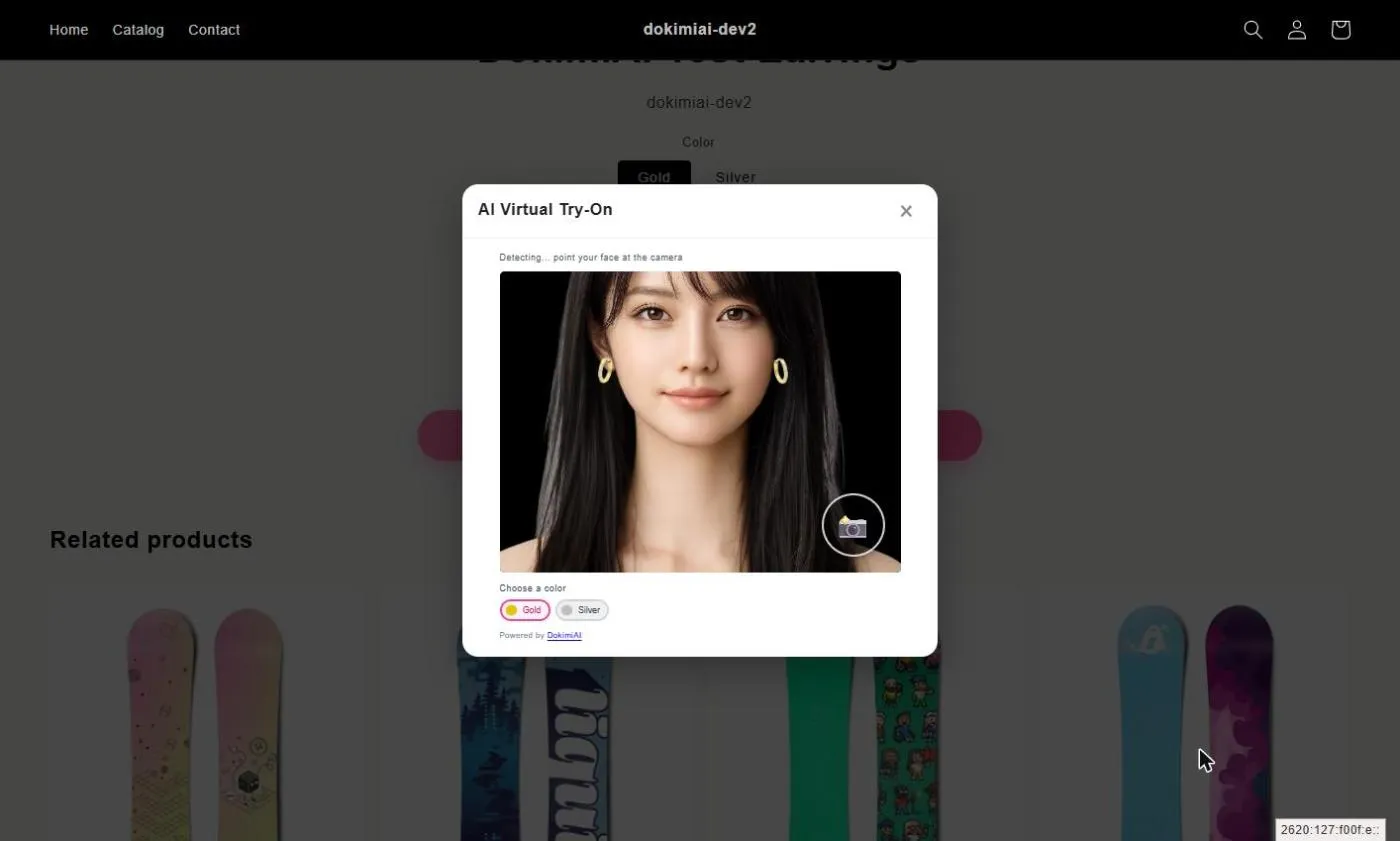
Three things to check:
- The camera starts and the product lands on the ear. If it doesn’t, suspect the color-name spelling first
- The size matches the real product. If not, adjust the mm value
- Switching color or size updates the overlay
If the image can’t be loaded, the browser’s developer console will show a CORS error. Move the image to Shopify Files.
Products you haven’t registered keep their normal page even with the block in place, so you can add products one at a time.
Common problems
| Symptom | Cause | Fix |
|---|---|---|
| No button | App Block not placed / different template | Add the block to that template in the theme editor |
| Button shows, product doesn’t render | Color name mismatch / image not loadable | Match the option value exactly / move image to Shopify Files |
| Wrong size | Still at the 21 mm default | Enter the product’s real dimensions |
| Size switch doesn’t change the size | Per-size heights left blank | Enter mm per size |
Summary
- Install → register images and size in Try-On Images → add the App Block in the theme editor → test on a phone
- Color names must match variant option values exactly
- Host images in Shopify Files
- Always enter the real size; per-size for size variants
Once the first product works, the rest is repetition. Add products as their images become ready.